Our vaccuum formed hand molds are perfect for making your own unique bath bombs, but did you know you can also use our plastic hand molds to make your own melt and pour soap bars? Our molds are made with a thick PETG plastic sturdier than most other molds out there. It's incredibly easy and opens up a whole new world of unique soap bars in all shapes.
Simply melt down your soap, add color and fragrance, and pour into your mold. You can even get creative by dusting the mold with eco glitter or bio glitter before pouring your soap.
Here is a simple step-by-step guide with pictures to follow: (This is not a recipe and does not include amounts)
Equipment:
- Glass measuring cup
- Knife
- Whisk
- Microwave or Double Boiler
- Vaccuum Formed Hand Mold
- A bowl, cup or container to hold your mold level while drying.
Ingredients:
- Melt & Pour Soap Base (We used African Black Melt & Pour)
- Krazycolours Dye (Liquid dye is easiest to use with melt & pour soap, we used black)
- Fragrance Oil or Natural Essential Oil
- Eco-Glitter or Bio-Glitter (optional)
- Spray Bottle of Rubbing Alcohol (optional)
How to make unique soap bars with plastic hand molds:
- Using a knife, carefully cut off the desired amount of Melt & Pour Soap Base needed to fill your molds. Place the soap into the glass measuring cup.
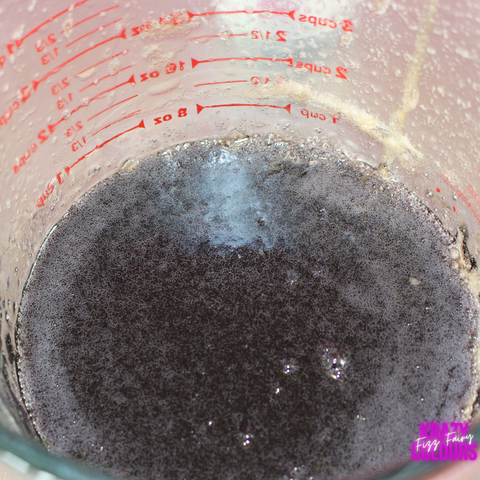
- Melt the soap until it has just fully melted. Overheating may decrease the quality of the soap.
- While whisking, add a few drops of your Liquid dye to acheive the desired color.
- Add in the correct amount of Fragrance Oil based on the fragrance usage rate, found on the item page. Gently whisk until fully incorporated.
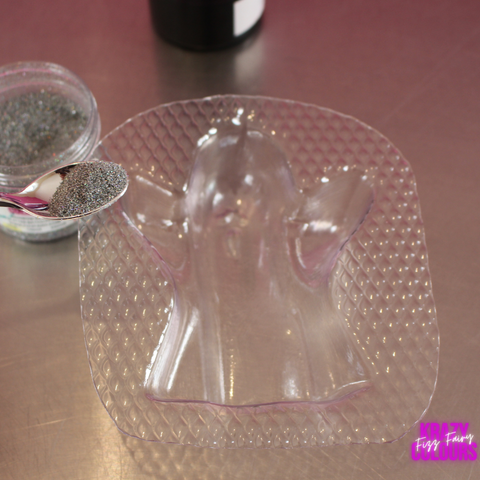
- (Optional) Lightly dust the inside of the mold with Eco-Glitter or Bio-Glitter. Shake the mold to coat it evenly.
- Carefully pour your melted soap mixture into the Vaccuum Formed Hand Mold until it is flush with the top of the mold.
- Place the mold on a small container or bowl to ensure your mold is level while drying.
- (Optional) Lightly spray the top with rubbing alcohol to get rid of bubbles.
- Let the soap harden for 24-48 hours.
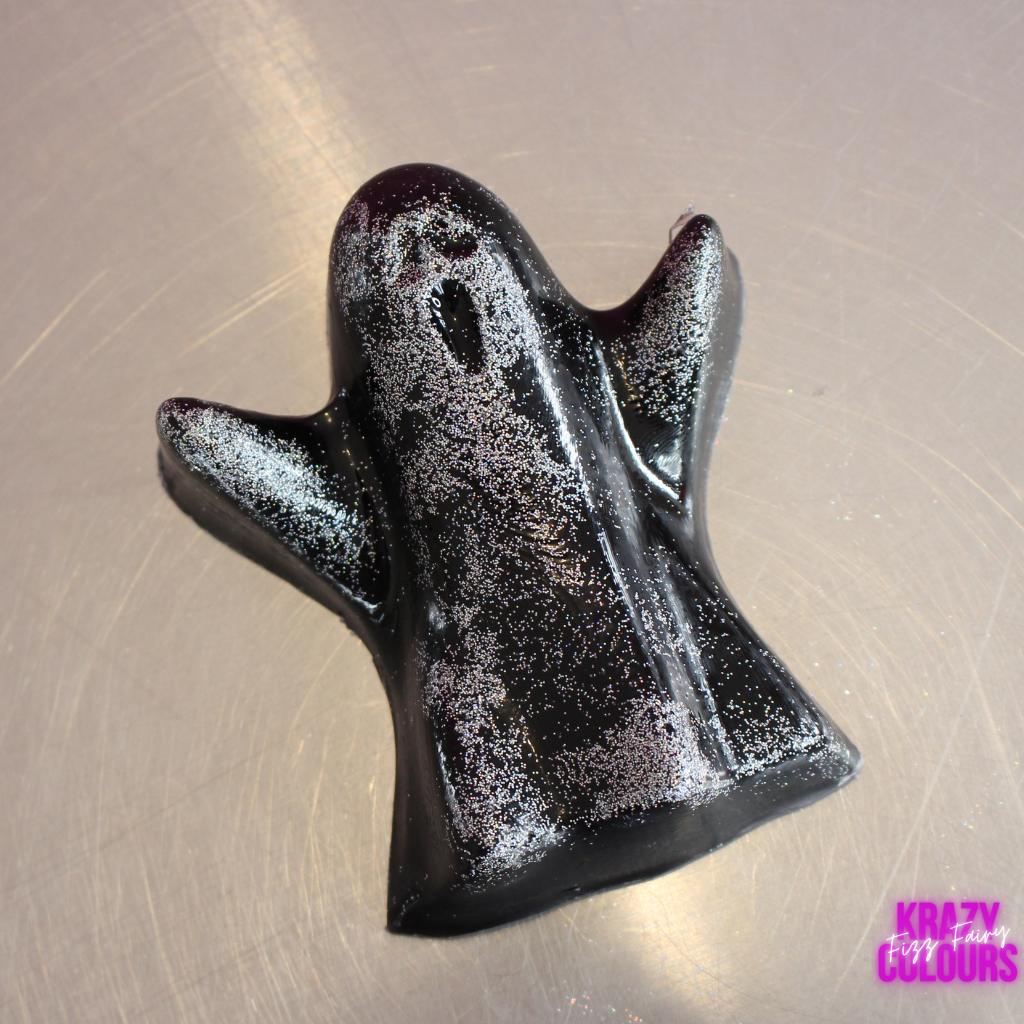
- When fully set, lightly bend the mold to separate the soap from the edges. You will see air getting between the soap and the mold, meaning it's coming unstuck. Continue to gently manipulate the mold until your soap gently slides out. Trim excess soap from the edges.


Notes:
- If making multiple soap bars at one time, you will want a few of the same mold so they can all harden at the same time.
- You can use powdered dye, however it is more difficult to fully disperse in soap which can cause pockets of dye in your soap bar if not fully mixed.
-Our molds are thick, you should not have to bend the mold so much that you ruin it. If you are having trouble releasing, try lightly twisting and bending the sides in separate directions. You can freeze the molds to help release easier, however this should not be necessary.