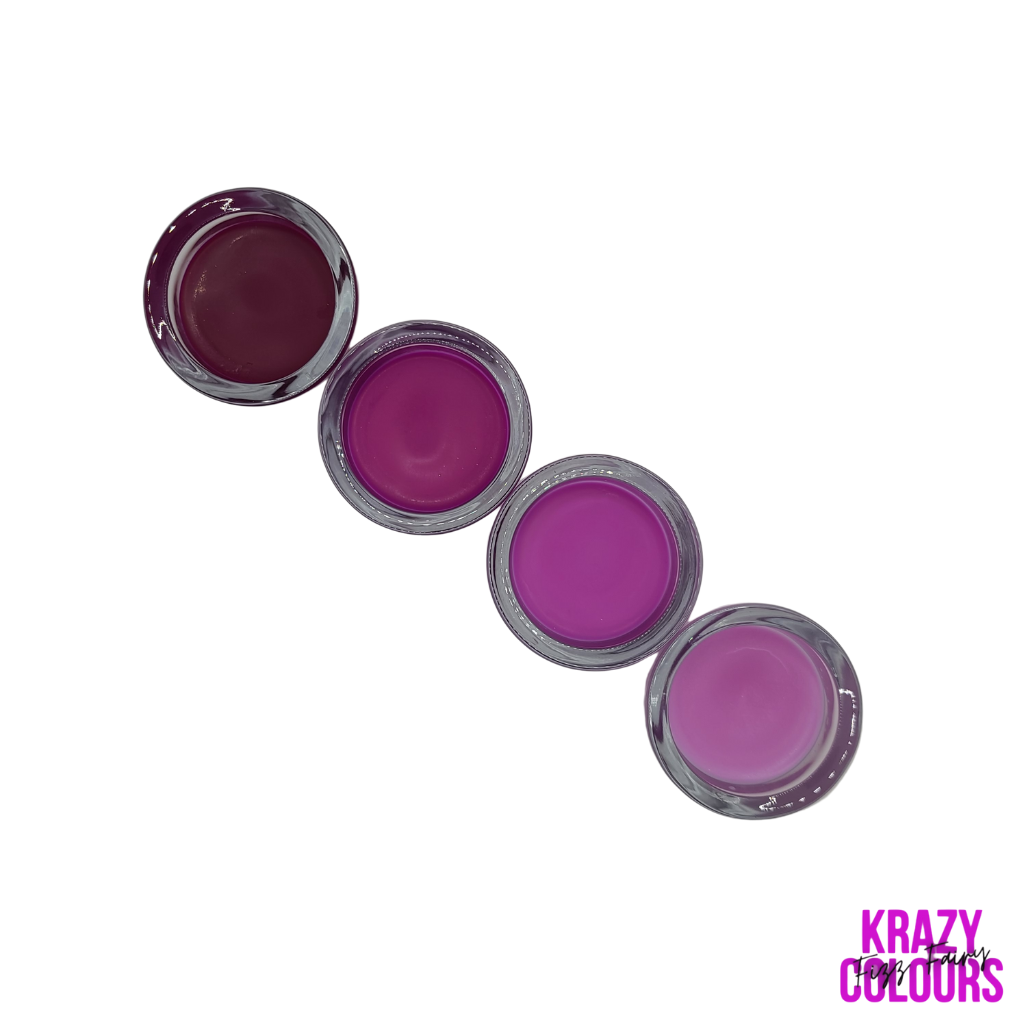
The easiest way to dye your candles!
Fizz Fairy Krazycolours Candle Wax Dye Chips have been dyed with a high dye load of our Super Strength Candle Colourants and are meant to easily dye large quantities of candle wax in any shade you like.
To dye your candle wax, simply add a tiny chunk to your melting wax and stir together well.
We recommend using 1 gram as a starting point, and increasing the amount of dye from there for a deeper colour.
Equipment/Ingredients:
- Candle Wax of your choice
- Candle Wax Dye Chips
- Candle Jar
- Candle Wick
- Double Boiler (Pot with water on stove with steel bowl on top)
- Fragrance
- Whisk or spoon
- Something to hold the wick in place
Steps:
- Heat the double boiler and melt your undyed candle wax inside.
- Add around 1 gram of dyed wax and stir into the wax.
- Judge color. If darker colour is desired, continue to add dyed wax.
- Once desired colour is achieved, add fragrance according to usage rates and stir.
- With your candle jar prewarmed (with heat gun or microwave(glass only)) and your candle wick fixed in place (hot glue), carefully pour the candle wax into the candle jar.
- Using a popsicle stick or similar, keep the wick pulled straight and center of the jar for a minimum of 72 hours to allow the wax to cure.
- Trim the wick and burn.


